Install Ruby on Rails through the Supervisor
 Just a few days ago, we introduced a new dev-targeted tool – the Supervisor, which is located in the Advanced section of the Web Hosting Control Panel.
In our post we showed you how to run a chat server over the WebSocket protocol using the Supervisor.
Now we’ll present to you another useful application of the tool – the option to install Ruby on Rails in your web hosting account.
What is Ruby on Rails about?
Before Ruby on Rails made a splash back in 2004, building web applications had for the most part been a tough and boring job.
In an effort to simplify the process and even add fun to it, the global community of programmers laid the basics of Ruby on Rails.
Today, there are thousands of Ruby on Rails-driven projects, the most popular of them being SoundCloud, GitHub, Airbnb, Hulu, Zendesk, etc.
To its creators, Ruby on Rails is more of a philosophy than a simple software framework, since it revolutionizes the way application building is viewed upon.
Ruby on Rails differs from other web application frameworks in that it puts emotional value in application creation and optimizes the use of code by saving repetitions and class definitions.
You can read more about the philosophy of Ruby on Rails on their site:
How to install Ruby on Rails (in Linux)
To start developing Ruby on Rails applications, you will need to install the following software:
- Ruby
- The Rails Framework
- A Database System (SQLite, MySQL or PgSQL are supported on our web hosting platform)
To install Ruby on Rails in Linux, the community recommends using rbenv – a lightweight Ruby Version Management Tool.
Here is how to carry out the installation.
NOTE: You need to have SSH access to your web hosting account to carry out the installation.
Step 1: Install rbenv
To install rbenv and set the environment variables, you should use the following set of commands:
$ cd
$ git clone git://github.com/sstephenson/rbenv.git .rbenv
$ echo 'export PATH="$HOME/.rbenv/bin:$PATH"' >> ~/.bashrc
$ echo 'eval "$(rbenv init -)"' >> ~/.bashrc
$ . .bashrc
$ git clone git://github.com/sstephenson/ruby-build.git ~/.rbenv/plugins/ruby-build
$ echo 'export PATH="$HOME/.rbenv/plugins/ruby-build/bin:/usr/local/nodejs/bin/:$PATH"' >> ~/.bashrc
$ . .bashrc
Step 2: Install Ruby
Now you can install a preferred version of Ruby, in our case 2.2.3, using the following command:
$ export TMPDIR=/home/tmp
$ rbenv install 2.2.3
To set the preferred Ruby version as default, use:
$ rbenv global 2.2.3
To verify the Ruby version, use:
$ ruby -v
This command will return the following output:
ruby 2.2.3p173 (2015-08-18 revivion 51636) [X86_64-linux]
To better manage your application dependencies, you should install the Bundler gem using the following command:
$ gem install bundler
If you don’t want to install it, then use the following command:
$ echo "gem: --no-document" > ~/.gemrc
Step 3: Install Rails
To install Rails 4.2.4, use this command:
$ gem install rails -v 4.2.4
To make the Rails executable available, use:
$ rbenv rehash
To check the Rails version, use:
$ rails -v
The command will return the following output:
$ Rails 4.2.4
Well, that’s it, you are now on Rails over Linux.
Keeping Rails Up-to-Date
Keeping Ruby on Rails up-to-date is relatively easy using the following command (make sure you are connected to the Internet):
$ gem update rails
Here is how it will look like in the Linux terminal:
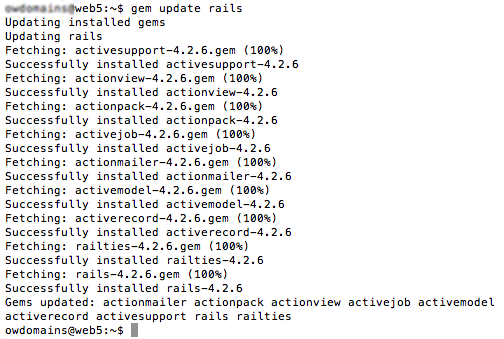
This will automatically update your installation, so the next time you restart your application, it will pick up this latest version of Rails.
Test Installation
You can verify if the environment is set up according to your requirements by creating a demo project.
Use the following commands:
$ mkdir rails
$ cd rails
$ rails new demo
$ cd demo
$ touch run.sh
$ chmod +x run.sh
Next, you should create a Supervisor instance from your Web Hosting Control Panel with the following command:
/rails/demo/run.sh
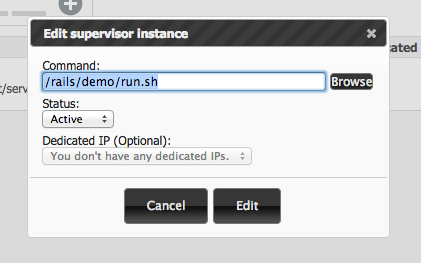
where the status should be set to ‘inactive’:
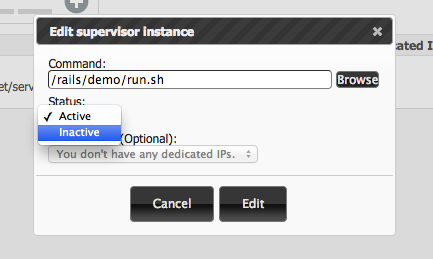
As soon as the instance is created, you will see a port generated by our system featured in the supervisor table:

Now replace <port> in the following command with the newly generated port number:
$ echo '#!/bin/bash
. /home/.bashrc
cd /home/rails/demo
exec rails server -p <port> -b 0.0.0.0' > run.sh
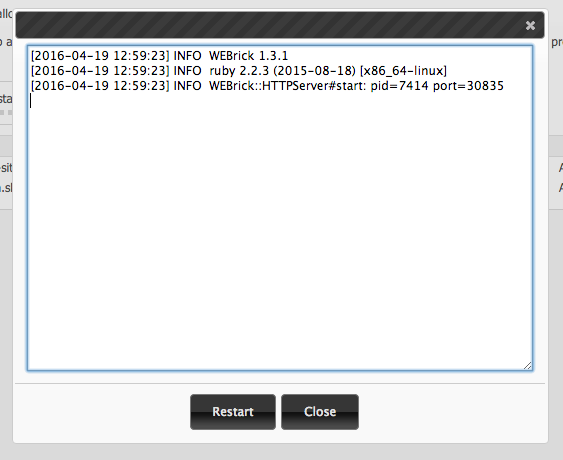
After you run the command, you will need to go back to the Supervisor area and set the status of the Supervisor instance to ‘Active’.
To verify that the Ruby on Rails server is running, click on the View buffer link in the Supervisor table.
It should return the following output:
Now open your browser and type the following:
http://<host>:<port>
where <host> is any active hostname in your account and <port> is the assigned port for the Supervisor instance.
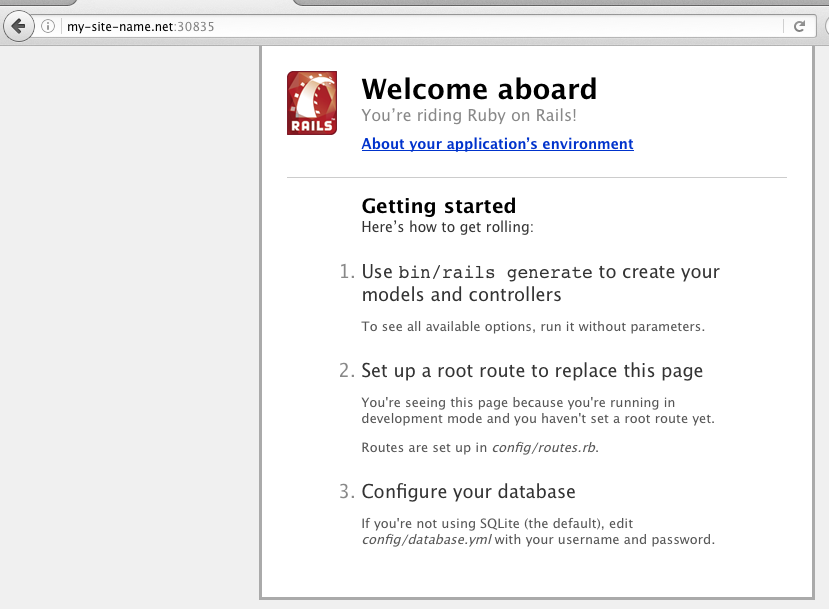
It should display a message, something like “Welcome aboard” or “Congratulations”.